Handwritten Digit Recognition - Part 0
Recently I remembered a fun/interesting assignment we were given in first year computing at UNSW - handwritten digit recognition. The gist of the assignment was basically that you are given as input a grey-scale image of a handwritten digit (between 0 and 9), and your program had to output which digit it is. The input images were approximately 30x30 pixels. An extension to this was to recognise postcodes, a sequence of 4 digits with the added problem of dealing with digit separation (it’s not always trivial to separate the pixels of individual digits from each other).

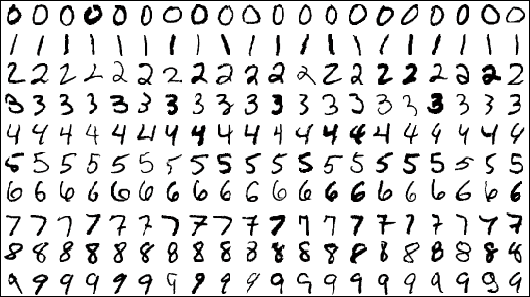
This is actually a well known image recognition/AI problem. This problem even has a standardised MNIST dataset for training and evaluation. If I remember correctly, my solution was a poor man’s re-invention of a Naive Bayes Classifier. At the time I didn’t really know what a Naive Bayes Classifier was, and neither did I know about overfitting. This was the root cause of my program performing much worse than I had expected :-)
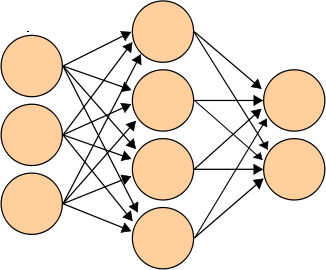
I remember this being quite a fun assignment, so when I was recently looking for a fun and short programming problem to work on this seemed like a good fit. This time around I decided to use a multi-layered Neural Network as the model, with stochastic gradient descent for training. I didn’t want to go overboard with anything fancy like Convolutional Networks or Deep Learning, but I did want to implement more or less all the important bits from scratch (so not using pre-packaged NN libraries).
So in the next one or two posts I’ll describe my approach and code in a little bit of detail. But to jump ahead a little, after approximately 2 days of work my classifier was attaining an error rate of 1.5% +/- 0.2% (depending on how lucky you got with network starting weights, hence the +/- 0.2%). This is after 20,000 training iterations, which took about 10 hours on my laptop. For training I used 60,000 samples of the MNIST dataset, using the separate 10,000 digit test dataset for final evaluation.
The code for this can be found on GitHub

